
Mostrando entradas con la etiqueta maquillaje. Mostrar todas las entradas
Mostrando entradas con la etiqueta maquillaje. Mostrar todas las entradas
17 de abril de 2013


21 de marzo de 2013
Makeup of the Day ! ( MOOD )
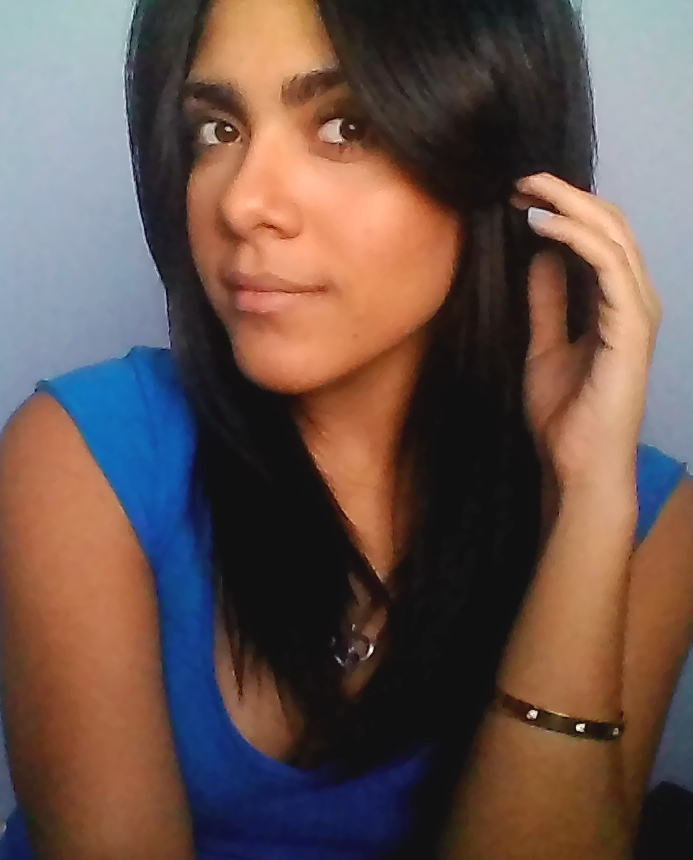
So last night I felt like doing makeup on someone else, and Oh, poor little sister of mine had to sit down and let me do her makeup. After all, that’s what little sisters are for, right ?
Some pics down below =) Enjoy
Asi que anoche me dio con querer maquillar a otra persona y Oh, mi pobre hermanita no tuvo mas remedio que sentarse y dejarse maquillar. Despues de todo para eso es que son las hermanas menores, no?
Aqui les dejo algunas fotos y espero que las disfruten =)
Aqui les dejo algunas fotos y espero que las disfruten =)


Ps. You are beautiful!~xoxo
11 de marzo de 2013
Natural/Romantic Makeup Look using Only 4 Products!!!
Achieving the “Natural Look” can be quite a hassle. Covering everything without looking like you have pounds of makeup on… yeah, It can be quite a challenge. I will share my everyday makeup routine, natural go-to with you ladies. Amazinglyyyyy, It is done using only FOUR products!! Full coverage, natural Romantic Look, light and easy to carry around and relatively inexpensive!♥
Conseguir el “look natural” puede ser toda una mision. Cubrir todo sin aparentar que tenes libras de maquillaje encima… Si, puede ser todo un reto. Compartire mi rutina diaria de maquillaje, la rutina a la que voy sin pensarlo dos veces para un look natural. Sorprendentemente solo se usan CUATRO productos!! Cobertura total, un look romantico natural, liviano y facil de cargar y relativamente barato!♥
PROCESO Y PRODUCTOS USADOS

- ELF all-over cover stick
- MAC Studio Fix Shade (NC42)
- ELF Contouring Blush & Bronzing Powder
- Maybelline ‘The Falsies’ Mascara
*

1) I applied ELF all-over cover stick first (in shade Spice), not worrying about it being too light (yet not over-doing it). I applied this under my eyes and all over my face where I needed concealer.
1.Aplique el corrector de ELF debajo de mis ojos, sin preocuparme por si quedaba muy claro (Pero sin exagerar). Aplique esto debajo de mis ojos y sobre mi rostro, en todo lo que necesitaba corrector.
2) I applied MAC studio Fix (shade NC42) with the sponge it brings, all over my face (Except my under eye area) with the same sponge that came with it in a tapping motion to make sure I got the full coverage it can offer. This can also be applied with a sponge or have several layers applied with a brush. If you do not need full coverage (GOD BLESS YOU) you can use a simple powder that shows your perfect skin. I then EVER SO SLIGHTLY tapped some into my under eye area (optional).
2. Aplique MAC STUDIO FIX (en tono NC42) sobre toda mi cara con la esponja que trajo (menos en las areas debajo de los ojos) y me lo aplique en topaditas y no arrastrando la esponja sobre mi cara para poder conseguir la cobertura maxima que este producto ofrece. Este paso tambien puede hacerse con una esponja normal o con una brocha, aplicando varias capas hasta lograr el efecto deseado. Si no necesitas una cobertura maxima (DIOS TE BENDIGA) puedes utilizar un simple polvo que ensene tu perfecta piel. Luego, LO MAS LIGERAMENTE POSIBLE con la misma tecnica aplique un poco sobre el area debajo de los ojos (opcional).

3) I then gave this some very good use. I LOVEEEEEE this, I completely recommend it. It’s like US$3.00 and I use it almost every single day. To contour I used the bronzer first and then used a mixture of the blush and the bronzer to blend everything together. Then I took the blush and applied some on my cheeks, and pressed the brush together in my hands to make it thinner and used it to contour my nose. I used the brush you see in the picture (It was the ONLY brush used in this process) to apply it and also used it to apply bronzer to my crease. To give my eyes some color I used the pink blush and applied it on my lids with my middle finger, making sure to apply it from the middle of my eyes inwards since the bronzer was beautifully blended in by the brush and since the brush was so big it gave my eyes a brown shade.
3. Luego le di a esta paleta bien uso. AMOOOOOOOOOO eso, y completamente lo recomiendo. Son como $3 dolares. Yo lo uso casi todos los dias. Para el contorno de mi cara utilice el color marrón primero, luego una mezcla de ambos colores para que los colores se matizaran y se viera mas natural y luego solo el rosadito en las manzanas de mis mejillas. Para todo esto utilice la brocha que pueden ver en la foto (es la UNICA brocha que utilizo en este proceso.) Tome la brocha entre mis dedos y la apreté para que fuera mas fina y la utilice tambien en el contorno de mi nariz. Con la misma brocha, utilice el bronzer para darle profundidad a mi mirada y lo aplique en el pliegue del ojo, difuminandolo bien. Luego con un dedo me aplique el color rosadito en los ojos para darle color y luminosidad, teniendo cuidado de aplicarlo desde el centro de hacia adentro, ya que al mi brocha ser relativamente grande al aplicar el bronzer le daba un tono marron a mi parpado movil por igual.

4) I used this version of THE FALSIES Maybelline Mascara. I applied one coat (because my eyelashes are long and with this mascara one coat is enough) and voila, the look was done. *
4. Use esta version de THE FALSIES Mascara de Maybelline. Me aplique una sola capa por que mis pestanas son largas y con este rimel una capa es suficiente. y Voila, el look esta completado*
*I don’t wear lipstick/lipgloss on a regular basis, hence me not using any on this tutorial.
*No utilizo labial ni gloss en un dia a dia, por lo tanto no lo aplique en este tutorial.
Thanks for reading ♣ Gracias por leer
Hope you enjoyed
REMEMBER, IT’S ONLY MAKEUP!~
10 de marzo de 2013
Maquillaje para miel Morena!~

Mi camara por fin funciona y puedo empezar a subir posts decentes. No puedo negar que amo tomar a mi hermanita menor y usarla como una muneca para hacerle el maquillaje y el pelo. En este caso, le hice un maquillaje con tonos medio anarajados que complementaron su piel magnificamente y la dejaron luciendo espectacular. Aqui les digo como.
Maquillaje para los ojos
- Antes que nada, aplique una pre-base en los ojos para que el maquillaje durara mas y los colores de este se vieran aun mejores.
- Luego utilize una sombra marron claro/mediano para usarla en el pliegue (la cuenca) del ojo. Dandole profundidad a la mirada. Hice esto como el primer paso para asegurar que el marron predominara o tuviera el mismo valor que el color claro.
- Tome un color anaranjado y lo utilice en el parpado movil, tomando en cuenta que queria alargar la mirada, por lo que lo aplique un poco afuera del ojo en una linea recta debajo del marron.
- Volvi al pliegue del ojo y esta vez utilice un marron oscuro, para poder definir la mirada y darle aun mas profundidad a la mirada.
- Aplique la misma sombra marron debajo del ojo y la uni a la sombra que venia del pliegue del ojo
- Aplique delineador liquido en negro e hice un pequeno “cat eye”
- Aplique dos capas de mascara Maybelline ‘The Falsies’
Espero que les haya gustado y gracias por leer! ♥
Recuerda, solo tu tienes poder sobre tu vida!~
22 de febrero de 2013
Winged Eye Liner ~ Delineado tipo Cat Eye

So the winged eyeliner has mostly every girl in the world looking chic and fabulous without much effort nowadays. It's a simple way to get a very chic look and to take your makeup (and whole look) to the next level. Here, my ladies, I will tell you how to complement this winged eyeliner to make the eye stand out even more than it would with just a regular eyeliner.
To compliment the winged eyeliner one must ALWAYS CONTOUR THE CREASE OF THE EYE, Even if it is done with the lightest shade of a brownish color, that will make the crease look deeper and will make the eyeliner pop out. Your whole eye will change simply because of this little detail. In this particular photograph I took a light color and applied it in the internal part of my eyelid, and then took a brown shadow and applied in on the external part, shading the external part of my crease as well. Last, but not least, I applied eyeliner.
~♥~
El delineador en estos momentos tiene a toda chica en el mundo viendose chic y fabulosa sin mucho esfuerzo. Es un look bien simple, pero que hace una gran diferencia. Aqui, mis preciosuras, les enseñare como complementar el delineador para que sus ojos se vean aun mas bonitos.
Lo primero es que SIEMPRE DE DEBE sombrear el contorno del ojo aunque sea con una sombra super clarita en marron. Esto hara muchisima diferencia en el ojo, ya que el ojo se vera mucho mas bonito y resaltara mucho mas el delineado. En esta foto en particular yo tome un color claro y lo aplique en la parte interna del parpado, aplicando en la parte externa un marron oscuro y difuminandolo hasta el pliege del ojo. Luego, aplique el delineador.
Thanks for reading♥
21 de febrero de 2013
Maquillaje Hecho por Mi!

Una amiga me pidió que le hiciera el favor de maquillar a su modelo, así que CLAAROOO que acepte. Los nervios no me faltaban el día que me lo pidió por que mi maquillaje seria juzgado, pero mas que nervios tenia pura emoción! Fue tan divertido! Este fue el look terminado, maquillaje y pelo por mi y el vestido diseñado por mi amiga.
Productos Utilizados:

- Pre-base de ELF
- L'Oreal True Match Base
- Base Mineral ELF
- Sombra Marrón de ELF, en el tono Chestnut
- Sombra negra de Coastal Scents.
- Corrector crema de ELF
- Bronceador de ELF
- Labial de Cyzone
- Lipgloss de Covergirl
Makeup Look Done by Me!
So... remember this???
I was asked to do someone's makeup and this is the look that we decided would complement the dress in the way that we wanted to do so. I was also the one to do her hair and style her in general. It was fun. :)
This was a makeup that was done with many drugstore products and was very easy to do. Steps and more info below
I started off by applying primer, and then I applied L'Oreal True Match Foundation with a beauty blender in both the face and neck. I lather moved on to the eyes, starting with a Mineral Eye Primer, and moving on to contouring the eyes and then started applying the black eyeshadow. The way I did was that I first lined the eyes in the shape I wanted them to be, and then filled it in after both eyes were good-to-go and matching. Afterwards, I took a blending brush and smoothed away the edges, everywhere, but specially in the end. I then took a little Chestnut colored Elf Matte Eyeshadow and applied in on her crease right where the black eyeshadow met the crease, to make the color blend it better with her skin tone.
Later, I applied some Elf Concealer under her eyes and all the way up to her temple. Tapping it in with warm fingers so that it blended it better with her skin. I also applied some concealer on the bridge of her nose, her forehead and her chin to give her face some light.
Afterwards I contoured her face, neck, and nose, with the bronzing powder from elf, and applied mineral blush in the shade Blush. For the lips, she was applied a rosey-pinkish shade of lipstick which was afterwards topped with a little bit of gloss on strategic points to make her lips look more plumped. Afterwards a red Cyzone lipstick was ever-so-slighty tapped into her lips for a more reddish effect.
HAIR
For the hair, we did a very stylish, yet always easy - to - do Sock Bun.
We tied her hair in a high pony tail, and afterwards took a cut sock and placed it in her pony tail. We then took her hair and circled it around the sock, giving it that stylish Perfect-Elegant-Stylish Bun effect.
Hope you thought it was cute :p
Thanks for reading!
~xo
CyZone Cyº Cheek-a-chic Blush Review

A couple of years ago while in High School I was introduced by a friend to this brand: cyzone
At first, what caught my eye was the colorful and extra-girly catalog that she presented to us on a monthly basis trying to sell us the products. After a while, the products sold themselves.
This blushes are WONDERFUL! They are one of those gems that you want to let go of after having discovered them.The Colors are amazing, and they last the wholeeeee entire day! This blushes belong to the type that you can wear the beginning of the morning to the end of your daily journey.
I'M IN LOVE WITH THEM
They are highly pigmented, which means a) That you have to apply just a slight amount of them and b) That they will last a lifetime. In my picture, I only took a big powder brush and took and I was able to aply it to both of my cheeks. And I took from the lid!! Haha they're just wonderful once you get the hang of it.
(They are a latinamerican brand. I live in Dominican Republic)
~ * ~
Los rubores Cyzone son de esas gemitas que no quieres soltar cuando las encuentras. Los colores son maravillosos, y se aplican a la piel difuminandose y matizandose con el resto de tu maquillaje para dar un acabado natural y perfecto que tiene de durabilidad todo el dia.
ME FASCINAN!!!
Estas bellezas tienen un solo "problema" (que no es nisiquiera un problema y les explicare en un tantito por que): Son MUY pigmentados. O sea, tan pigmentados que me los aplico con una brocha de polvo desde la tapa del contenedor y me da para ambos lados de la cara a full color! Esto, por el otro lado, tambien significa que el rubor promete durar meses y meses y meses.
Perfecto para el invierno !
Suscribirse a:
Entradas (Atom)